Boomi Mapping - Removing special chars from an input

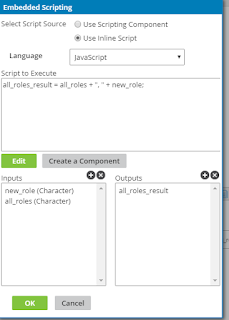
Dell Boomi mapping shape provides numerous ways to modify/enrich an input via functions. In this post I am going to show how I validated and removed special chars from an input using Scripting and do it along with another string function. The user defined functions available with mapping, allows us to apply sequence of functions to the input. In this example, I am going to use it. Use Case: I have two input strings coming from the source profile (first_name and last_name), which I want to first concatanate together and then remove non-alphanumeric characters if present. Solution In your map, add an User Defined function and add two inputs; first_name, last_name. Add User Defined function into the map Added inputs to the user defined function As the first step, add a function "String Concat" under the "String" category. Specify first_name and last_name as the inputs. Also set a delimiter, if you need a one. In my case, I want to concatena...